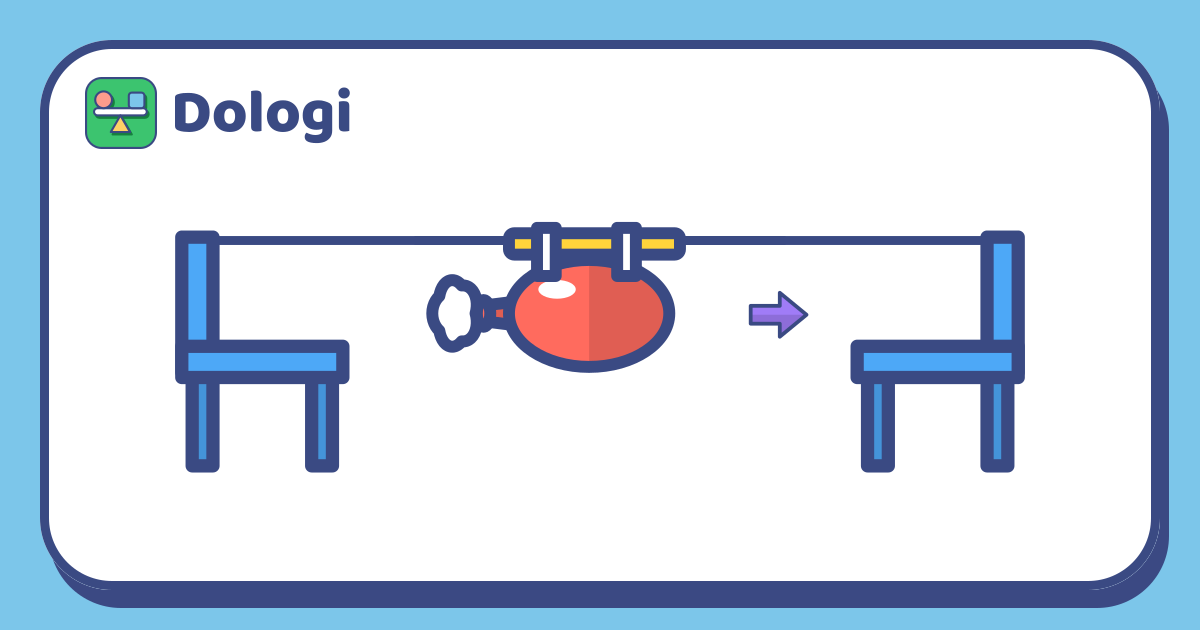
Let go, and the balloon squeals and shoots along the string to the far side of the room. Almost every child shouts the same thing: "Again!"
A balloon rocket is a small experiment about thrust, made from things you already have at home, and set up in ten minutes. Better still, it turns into a chain of questions: does a bigger balloon go further, what about a sloping string, and why does the balloon move at all?
What you need
- A string 3–5 metres long: yarn, garden twine or fishing line all work.
- One straight drinking straw.
- A few balloons, long or round.
- Sticky tape and a clothes peg or paper clip.
- Two chairs, or two door handles, or two table legs.
A few things to keep it relaxed:
- For younger children, an adult blows up the balloon, or you use a hand balloon pump.
- If a balloon pops, pick up all the pieces together and put them away straight away.
- Stretch the string somewhere people don't walk through, so nobody gets caught on it.
Set up the track and launch
- Thread the string through the straw.
- Tie each end of the string to the back of a chair, then pull the chairs apart until the string is tight.
- Blow up the balloon but don't tie it. Close the neck with a clothes peg, or ask someone to pinch it shut.
- Tape the balloon to the straw with two strips of tape, the neck pointing towards the starting chair.
- Slide the balloon back to the starting chair, count down together and let go.
The balloon shoots towards the other chair. Mark where it stops with a slipper or a piece of tape on the floor, right under the string.
Why does the balloon move?
The stretched rubber of the balloon acts like an elastic band, squeezing the air inside. When the neck opens, the squeezed air rushes out of the back. The balloon pushes the air backwards, and the air pushes the balloon forwards: that push is called thrust.
Your child can feel this for themselves. Standing on a skateboard, or in socks on a smooth floor, they push against a wall: they push the wall one way, and their body slides the other way.
The string and straw keep the balloon going in a straight line. Try letting go of a balloon without the string: it zigzags all over the room, because nothing keeps it on course. The straw rubbing on the string also slows the balloon down a little; that's friction.
You don't need to explain everything at the start. Ask first, "What do you think makes the balloon go?" and listen. An idea that isn't quite right is a great place to start testing.
Change one thing at a time
Once launches go smoothly, turn the game into an experiment. Change just one thing and keep everything else the same. If you blow the balloon up bigger and make the string steeper at the same time, nobody can tell which one made the difference.
| What changes | Question to ask first |
|---|---|
| Big or small balloon (count the breaths) | Does more air make the balloon go further? |
| Level or uphill string | Will it go further or less far uphill? |
| Long or short straw | What happens if the straw rubs more on the string? |
| Smooth string or fuzzy yarn | What does a rough string do to the balloon? |
To keep "big" and "small" the same every time, count the breaths: say, five breaths for a small balloon and ten for a big one. Counting like that is a way of measuring too.
Measure in footsteps. Your child walks from the starting chair to where the balloon stopped, heel touching toe, and counts. Keep the same person measuring, because everyone's feet are a different size. Launch each version three times, because no two releases are exactly alike. One family's chart might look like this:
| Version | Run 1 | Run 2 | Run 3 |
|---|---|---|---|
| Small balloon, level string | 7 steps | 8 steps | 7 steps |
| Big balloon, level string | 12 steps | 11 steps | 13 steps |
| Big balloon, uphill string | 8 steps | 9 steps | 8 steps |
Your results at home may be different, and that is exactly what makes the experiment fun.
Explain the results together
The numbers are only half of the experiment. The other half is "why".
- Predict and give a reason. Before each version, your child puts a slipper where they think the balloon will stop and says why.
- Compare with the guess. Did the balloon stop before or after the slipper? How will they guess differently next time?
- Explain in their own words. "The big balloon has more air, so it pushes for longer." "Going uphill, the balloon also has to lift itself."
- Look for anything unfair. Was anything odd about a run: the balloon twisted, the string sagged, they let go too early? If so, run it again.
| Rough age | What to try |
|---|---|
| 6–7 | Count footsteps; say "further" or "less far"; predict with a slipper |
| 8–9 | Fill in a three-run chart; count breaths to keep the balloon size the same; find the longest run |
| 10–12 | Measure with a tape measure; work out the average of three runs; come up with their own question and design a new test |
These ages are only a rough guide; every child is different.
In Dologi, the "Unjam the gears" puzzle in the Logic topic is built on one simple rule: two gears that touch turn opposite ways. Your child uses that rule to work out which gear is jamming the whole set, which is also a way of thinking about how one thing pushes another.
In short
- A string, a straw and a balloon are all you need for a thrust experiment at home.
- The balloon pushes air backwards, and the air pushes the balloon forwards; the string and straw keep it straight.
- Change one thing at a time, measure in footsteps and launch each version three times.
- Predict first, compare with the result and let your child explain why.
Read more: Making a hypothesis: teaching children to guess with a reason, then test it