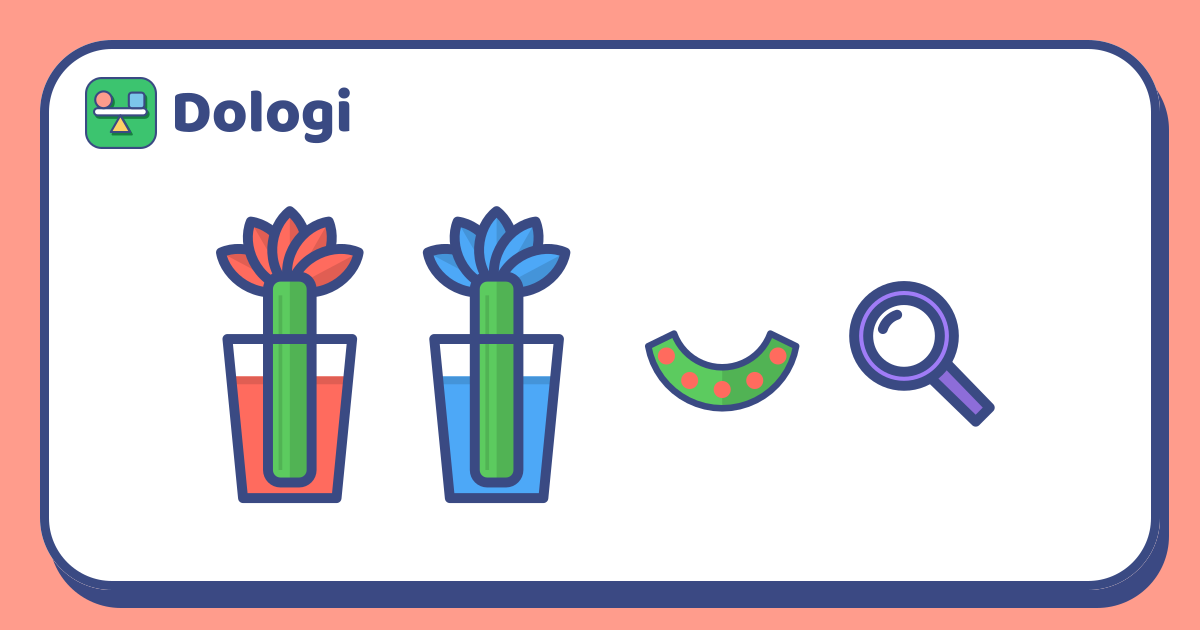
Plants have no mouths and no hands. So how does water in the soil get all the way up to the tips of the leaves? It's a hard question to answer in words for a young child. But with a stick of celery and a glass of coloured water, your child can watch the water travel up the stem for themselves.
The colour-changing celery experiment suits children aged about 5 to 10, because it happens slowly: your child has to guess first, come back to look several times and record what they see each time. This article shows how to set it up, what to look for, and how to talk with your child about what's going on inside the stalk.
What you need
- Two or three sticks of celery with their leaves on. The young, pale stalks from the middle of the bunch usually show the colour change more clearly.
- If you have one, a white flower with a long stem.
- Two or three clear glasses, water and food colouring (be generous, about ten drops per glass). One colour per glass.
- Paper, coloured pencils and a magnifying glass if you have one.
Just before the celery goes into the water, trim the bottom of each stalk with a knife so the cut is fresh. The knife is a grown-up's job; your child mixes the colours, stands the stalks in the glasses and does the watching.
Guess first, then check again and again
Before you start, ask: "If we leave celery in red water, what do you think will happen? How long will it take?" Write the guess down.
Then stand the stalks in the glasses and agree on times to check. Each time, your child draws the celery in a new box and colours it exactly as they see it.
| When we checked | Leaves | Stalk | My drawing |
|---|---|---|---|
| Just put in | Green | Green | Box one |
| After a few hours | Edges slightly coloured | Coloured streaks running up | Box two |
| After one day | Veins clearly coloured | Streaks stronger | Box three |
| After two days | Many leaves tinted | Colour reaches the top | Box four |
The table is only an example. How fast it goes depends on the stalk, the colour and how warm your home is. Sometimes the change only shows clearly the next day, so don't worry if nothing has happened after an hour. The row of drawings becomes the experiment's "slow-motion film": laid side by side, they show the colour climbing a little at a time.
Cut the stalk: the water channels
After a day, cut across one stalk a few finger-widths above the bottom. Hand the slice to your child, ideally with a magnifying glass.
Your child will see a row of coloured dots along the curved edge of the slice. Each dot is the end of a very thin tube running the whole length of the stalk. Water, and the colour mixed into it, travels up through these tubes. If you split a piece of stalk lengthwise, your child can even see coloured threads running along it like roads.
Ask: "What do these dots remind you of at home?" Some children say drinking straws, others say water pipes. Both are great comparisons.
How does the water go up?
Keep the explanation simple:
- Leaves are always letting water escape into the air as vapour, so slowly that we can't see it.
- The water in the thin tubes forms one unbroken line from the bottom of the stalk to the leaves. When water leaves at the top, more is pulled up from below to take its place, a bit like sucking a drink through a straw.
- The thinner the tube, the more easily water climbs. Your child can see this with a strip of paper towel: dip one end in coloured water and the water creeps up the paper all by itself.
Your child doesn't need to remember the scientific names. The idea worth keeping is that water travels in one continuous path from the roots, through the stem, up to the leaves.
A few more tests
Once your child has seen celery change colour, each question below is a new experiment. Remember to change only one thing at a time and keep everything else the same.
- Leaves on or off: two similar stalks, one with its leaves, one with the leaves removed. Stand them in glasses of the same colour. Which one changes faster? What does that tell you about the job of the leaves?
- Breezy or sheltered: put one glass near an airy window and another in a sheltered corner. Which shows colour first?
- A two-coloured flower: carefully split the bottom of a white flower's stem in two with a knife (a grown-up's job) and put each half in a glass of a different colour. Ask your child to predict what the flower will look like in a few days.
- Which colour shows best: try red, blue and yellow at the same time and see which is easiest to spot on the leaves.
Record each experiment as a row of drawings, like the first one, and your child will soon have a small observation notebook.
Your child's row of drawings is a sequence that changes step by step. In Dologi, "More and fewer" puzzles in the Patterns topic also ask children to look at a sequence that changes gradually and work out the next step.
In short
- Stand celery or a white flower in coloured water, and over a few hours to a day or two your child will see the colour climb to the leaves.
- Ask for a guess first, then have your child draw the stalk each time they check, to make a "slow-motion film".
- Cut across the stalk to see the row of coloured dots: the ends of the thin tubes that carry water upwards.
- Knives are a grown-up's job, and each extra test changes only one thing.
Read more: Growing a bean: observing and recording like a scientist