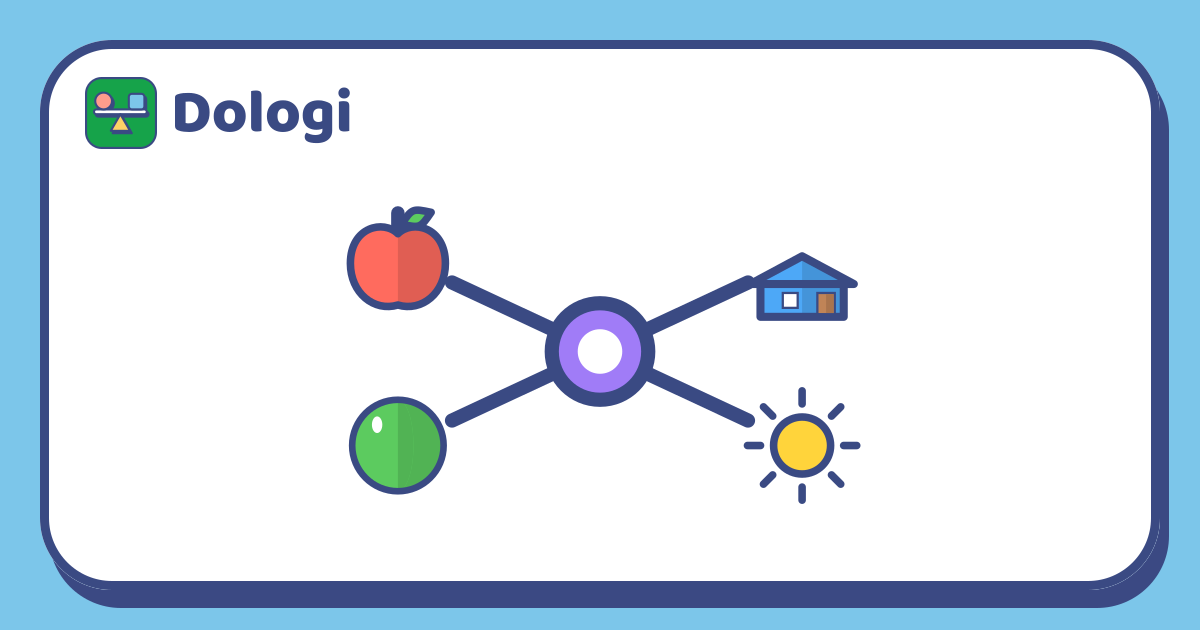
Ask a child to tell you everything they know about the seaside, and the answer might come out as a tumble: sand, ice cream, crabs, the long drive, Grandma's hat, waves. All the ideas are there, but they're hard to hold together.
A idea map is a simple way to catch those ideas on paper. You put the main idea in the middle and draw branches out to everything connected to it. For children who can't write yet, pictures work just as well as words. This article explains how to make a first idea map together and suggests ways to use them at home.
What is an idea map?
An idea map has three parts:
- The centre: the main idea, drawn in the middle of the page. "The seaside."
- Branches: the big ideas connected to it, each on its own line. "Things we eat", "Animals", "Things we do".
- Twigs: smaller details coming off each branch. "Ice cream" and "sandwiches" on the food branch.
Because everything is connected by lines, an idea map shows not just ideas but how they relate. That's what makes it a thinking tool, not just a list.
Making your first idea map together
You need a large sheet of paper, turned sideways, and some coloured pencils.
- Choose a familiar topic: our dog, my birthday, the park, autumn.
- Draw the topic in the middle in a circle or a simple picture.
- Ask "What do you think of when you think of…?" For each big idea, draw a branch from the centre and a small picture at its end.
- Add twigs: "What kind of food? What did we see?" Draw smaller branches with smaller pictures.
- Use a different colour for each branch. It helps the eye see which ideas belong together.
- Look at the finished map together and let your child tell you about it.
Three to five branches are plenty. It doesn't have to be neat; a messy map full of ideas is a good map.
Ways to use idea maps
| When | Centre | Example branches |
|---|---|---|
| Before telling a story | The main character | Where they live, what they want, what goes wrong |
| Planning a party | The party | Guests, food, games, decorations |
| A topic at school | Frogs | What they eat, where they live, how they grow |
| After a day out | The zoo | Animals we saw, what we ate, our favourite moment |
| Solving a problem | "My room is messy" | Toys, clothes, books, ideas for boxes |
An idea map made before an activity helps children plan. One made afterwards helps them remember and retell.
Idea maps for younger children
Children of 4 or 5 can make idea maps too, with a few changes:
- Use pictures only: drawings, stickers or photos cut from magazines.
- Start with two or three branches. "Things that are yellow: the sun, a banana, a duck."
- Do the drawing together: your child chooses the ideas, you draw if needed.
- Make it physical: put a toy in the middle of the table and lay out related toys around it with pieces of string as branches.
Older children, from around 7 or 8, can add words, connect ideas across branches with dotted lines, and use idea maps on their own for homework or projects.
Tips that keep it fun
- Let your child hold the pen as often as possible. It's their thinking on the page.
- Ask "What else?" rather than suggesting ideas yourself.
- Accept surprising ideas. If your child puts "rain" on the birthday map, ask why. There may be a great story behind it.
- Look for links: "Does anything on this branch connect to something on that one?"
- Keep the maps. Children enjoy looking back at old maps and adding new ideas.
In short
- An idea map puts the main idea in the middle and connected ideas on branches around it.
- Make the first one together on a big sheet, with three to five branches and a colour for each.
- Use idea maps before stories, plans and school topics, and after days out to remember them.
- For younger children, use pictures, fewer branches and real objects, and let your child lead.
Read more: Retelling the day in order: helping children practise sequence and expression