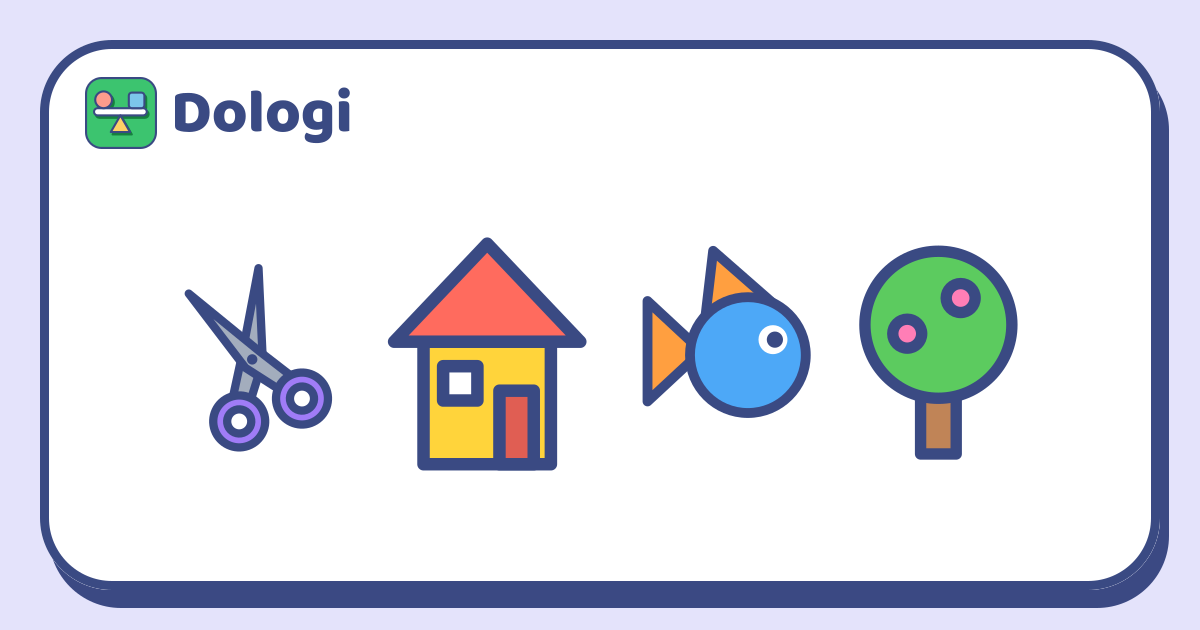
"Look, my fish is just a circle and two triangles!"
Cutting coloured paper into shapes and gluing them into pictures is one of the simplest crafts there is, and one of the richest for thinking. Your child names shapes, notices that a roof is a triangle and a wheel is a circle, and discovers that a few plain pieces can become a house, a fish or a whole street. Afterwards there is a finished picture to count, describe and copy.
All you need is a quiet table and twenty minutes. Below: what to prepare, how to cut each shape at different ages, pictures to start with, how to count the shapes you used, and a few games that take it further.
What you need
- Coloured paper. Old magazines, wrapping paper and the printed side of cereal boxes all work.
- Child-safe scissors with rounded tips.
- A glue stick and a sheet of plain paper as the background.
- A pencil, and something round to trace, such as a cup, a lid or a roll of tape.
Scissors need an adult close by, especially the first few times. For younger children, you can cut the shapes yourself and let them do the arranging and gluing.
Cutting the shapes
Some shapes are much easier to cut than others, so start with the easy ones.
- Strips and rectangles: one straight snip across a sheet makes a strip. This is the first cut to practise.
- Squares: cut a strip into pieces as long as the strip is wide. Older children can fold one corner of a rectangle down to its edge and cut off the extra bit: the folded part opens into a square.
- Triangles: cut a square in half along the diagonal and you get two triangles. Cutting a triangle off the corner of a sheet works too.
- Circles: trace a cup and cut slowly along the line, turning the paper rather than the scissors. Circles are the hardest, so don't worry if they come out a bit bumpy.
Cut several of each shape, in different sizes and colours, and keep them in a tray. Choosing from a pile is half the fun.
From shapes to pictures
Start with a picture made of only two or three shapes, then build up.
| Picture | Shapes |
|---|---|
| House | A square for the walls, a triangle for the roof, a small square window, a rectangle door |
| Fish | A circle for the body, a triangle tail, a small triangle fin, a dot for the eye |
| Tree | A large circle or three triangles stacked for the leaves, a rectangle trunk |
| Sun | A circle with small triangles all around |
| Cat's face | A circle with two triangle ears |
| Boat | A rectangle hull with a triangle sail |
Let your child lay the pieces out before gluing anything. Moving a roof from one side to the other, or turning a triangle upside down to see whether it still looks like a tail, is exactly the kind of trying out that builds spatial thinking. Once they know a few pictures, invite them to invent their own: a robot, a rocket, a train.
Count the shapes you used
When the picture is finished, turn it into a small counting game.
- "How many triangles are in your house? How many circles in the sun?"
- Make a key beside the picture: draw each shape once and put a dot for every time it was used.
- Compare two pictures: which one used more shapes? Which used more triangles?
- Set a challenge before starting: a picture with exactly five shapes, or a picture made only of triangles.
Look out for shapes that hide inside others. Two triangles side by side can make a square; four small squares can make a big one. Cut a square into two triangles, then ask your child to put it back together.
Games that go further
- Same pieces, new picture: give your child the same six shapes and ask for as many different pictures as they can find. Then try it the other way round: you make one, they make a different one from the same pieces.
- Build from a description: sit back to back. One person describes a picture ("a big blue circle, with a yellow triangle touching it on the left"), the other builds it, then you compare. This practises words like left, right, above, below and next to.
- Copy from memory: show a simple picture for ten seconds, hide it, and rebuild it.
- Shape list: your child draws the list of shapes needed for a picture, like a recipe, and someone else has to build a picture using exactly that list.
| Rough age | What to try |
|---|---|
| 3–4 | Arranging and gluing shapes an adult has cut; strips with one snip; a house from a square and a triangle |
| 5–6 | Cutting squares and triangles; pictures of four to six shapes; counting each kind of shape |
| 7–8 | Tracing and cutting circles; inventing pictures; a key beside the picture; build from a description |
| 9 and up | Challenges with a fixed number of shapes; finding shapes hidden inside others; shape lists for someone else to build |
Ages are only a rough guide, and every child is different.
In Dologi, the Space topic has puzzles such as "Shapes inside a figure", where children count all the squares or triangles in a figure made of lines, including bigger ones made of several smaller parts. It is the same habit of noticing that two triangles together can also be a square.
In short
- Coloured paper, safe scissors and a glue stick are enough to turn shapes into pictures.
- Start with strips, squares and triangles; circles come later, traced and cut slowly.
- Lay the pieces out before gluing, so your child can move and turn them.
- Count the shapes in each finished picture, and look for shapes hidden inside others.
Read more: First shapes: finding circles, squares and triangles around the house